Some Ideas on Plaster Repair You Need To Know
Wiki Article
The Main Principles Of Plaster Repair
Table of ContentsSome Known Questions About Plaster Repair.Not known Incorrect Statements About Plaster Repair The Greatest Guide To Plaster RepairMore About Plaster RepairThe Definitive Guide to Plaster RepairAn Unbiased View of Plaster RepairThe Only Guide to Plaster Repair
There are two techniques for loading in the crack once the wall is secured. They are: Remove the crack along its length in an upside down V shape as well as vacuum cleaner out any kind of residual debris. This must develop a toehold for the patch. Supplied the split survives without collapsing into pieces, fill and also tape it similar as though it were a drywall joint.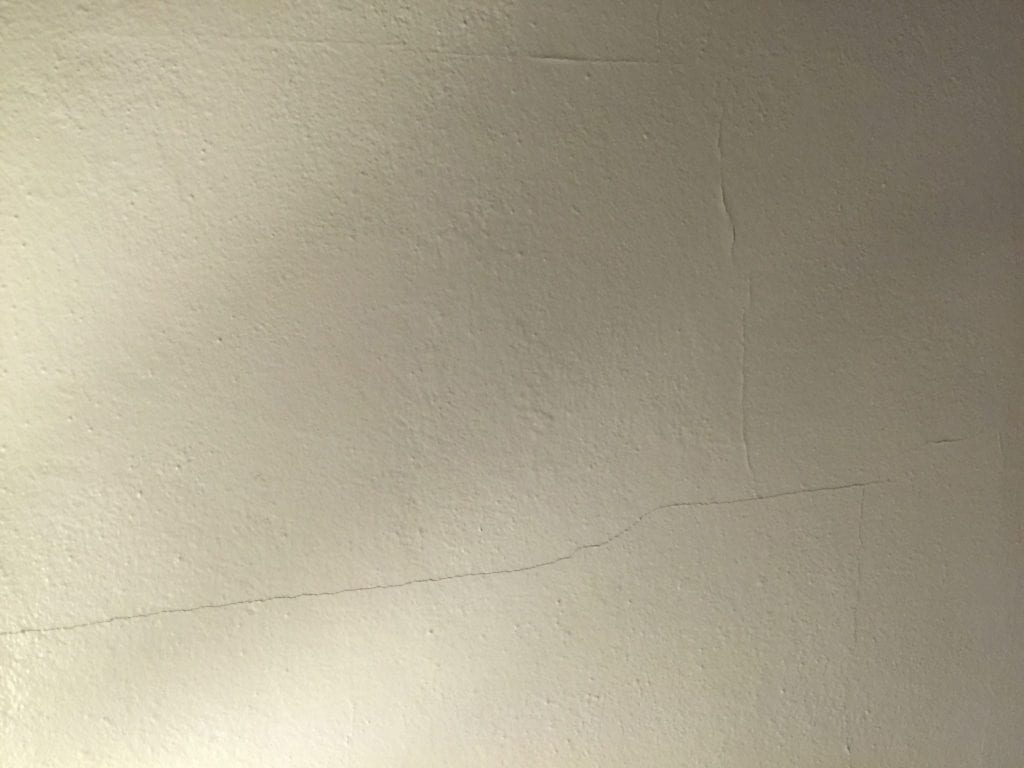
Make Use Of a PVA (polyvinyl acetate) plaster bonding representative around the sides of the failed plaster and on any exposed lath before taping the crack. The bonding agent serves as an emulsifier to bond the new plaster to the old without the hit-or-miss approach of moistening the old lath and plaster.
The Main Principles Of Plaster Repair
Enable each application of plaster to completely dry and also sand in between coats. For smaller jobs, there's no demand to mix up a typical lime- and also sand-based plaster.It treatments rapidly as well as is difficult to sand, nevertheless, so for surface work usage either premixed joint compound or an associated product called Easy Sand, a lightweight setting-type mud with 25 to 90 min setup times. For scrape or brown layers, pick a basecoat plaster mix, such as Structo-Lite, a perlite-aggregate plaster that is much lighter than a traditional sand-based plaster.
If your goal is to save as much original plaster as you can, very first determine just how deep the damages goes. Frequently just the leading layer of plaster is falling short.
What Does Plaster Repair Do?
Use a new finish layer, utilizing either veneer plaster or several coats of plaster substance. Veneer plaster produces a thicker buildup in a solitary coat than drywall mud.Bring the plaster directly to the wall surface with the trowel as well as apply it in an arcing motion. As the plaster begins to dry, brush a layer of water over it and also smooth it out quickly.
As you remove the poor product, you may hit sections that are audio and also decline to move. Leave them in location. To stay clear of destructive areas of sound plaster, use just as much force as required. Delicately pry up items with a level prybar, or eliminated locations making use of a flathead screwdriver or sharp chisel and hammer.
Plaster Repair Can Be Fun For Everyone
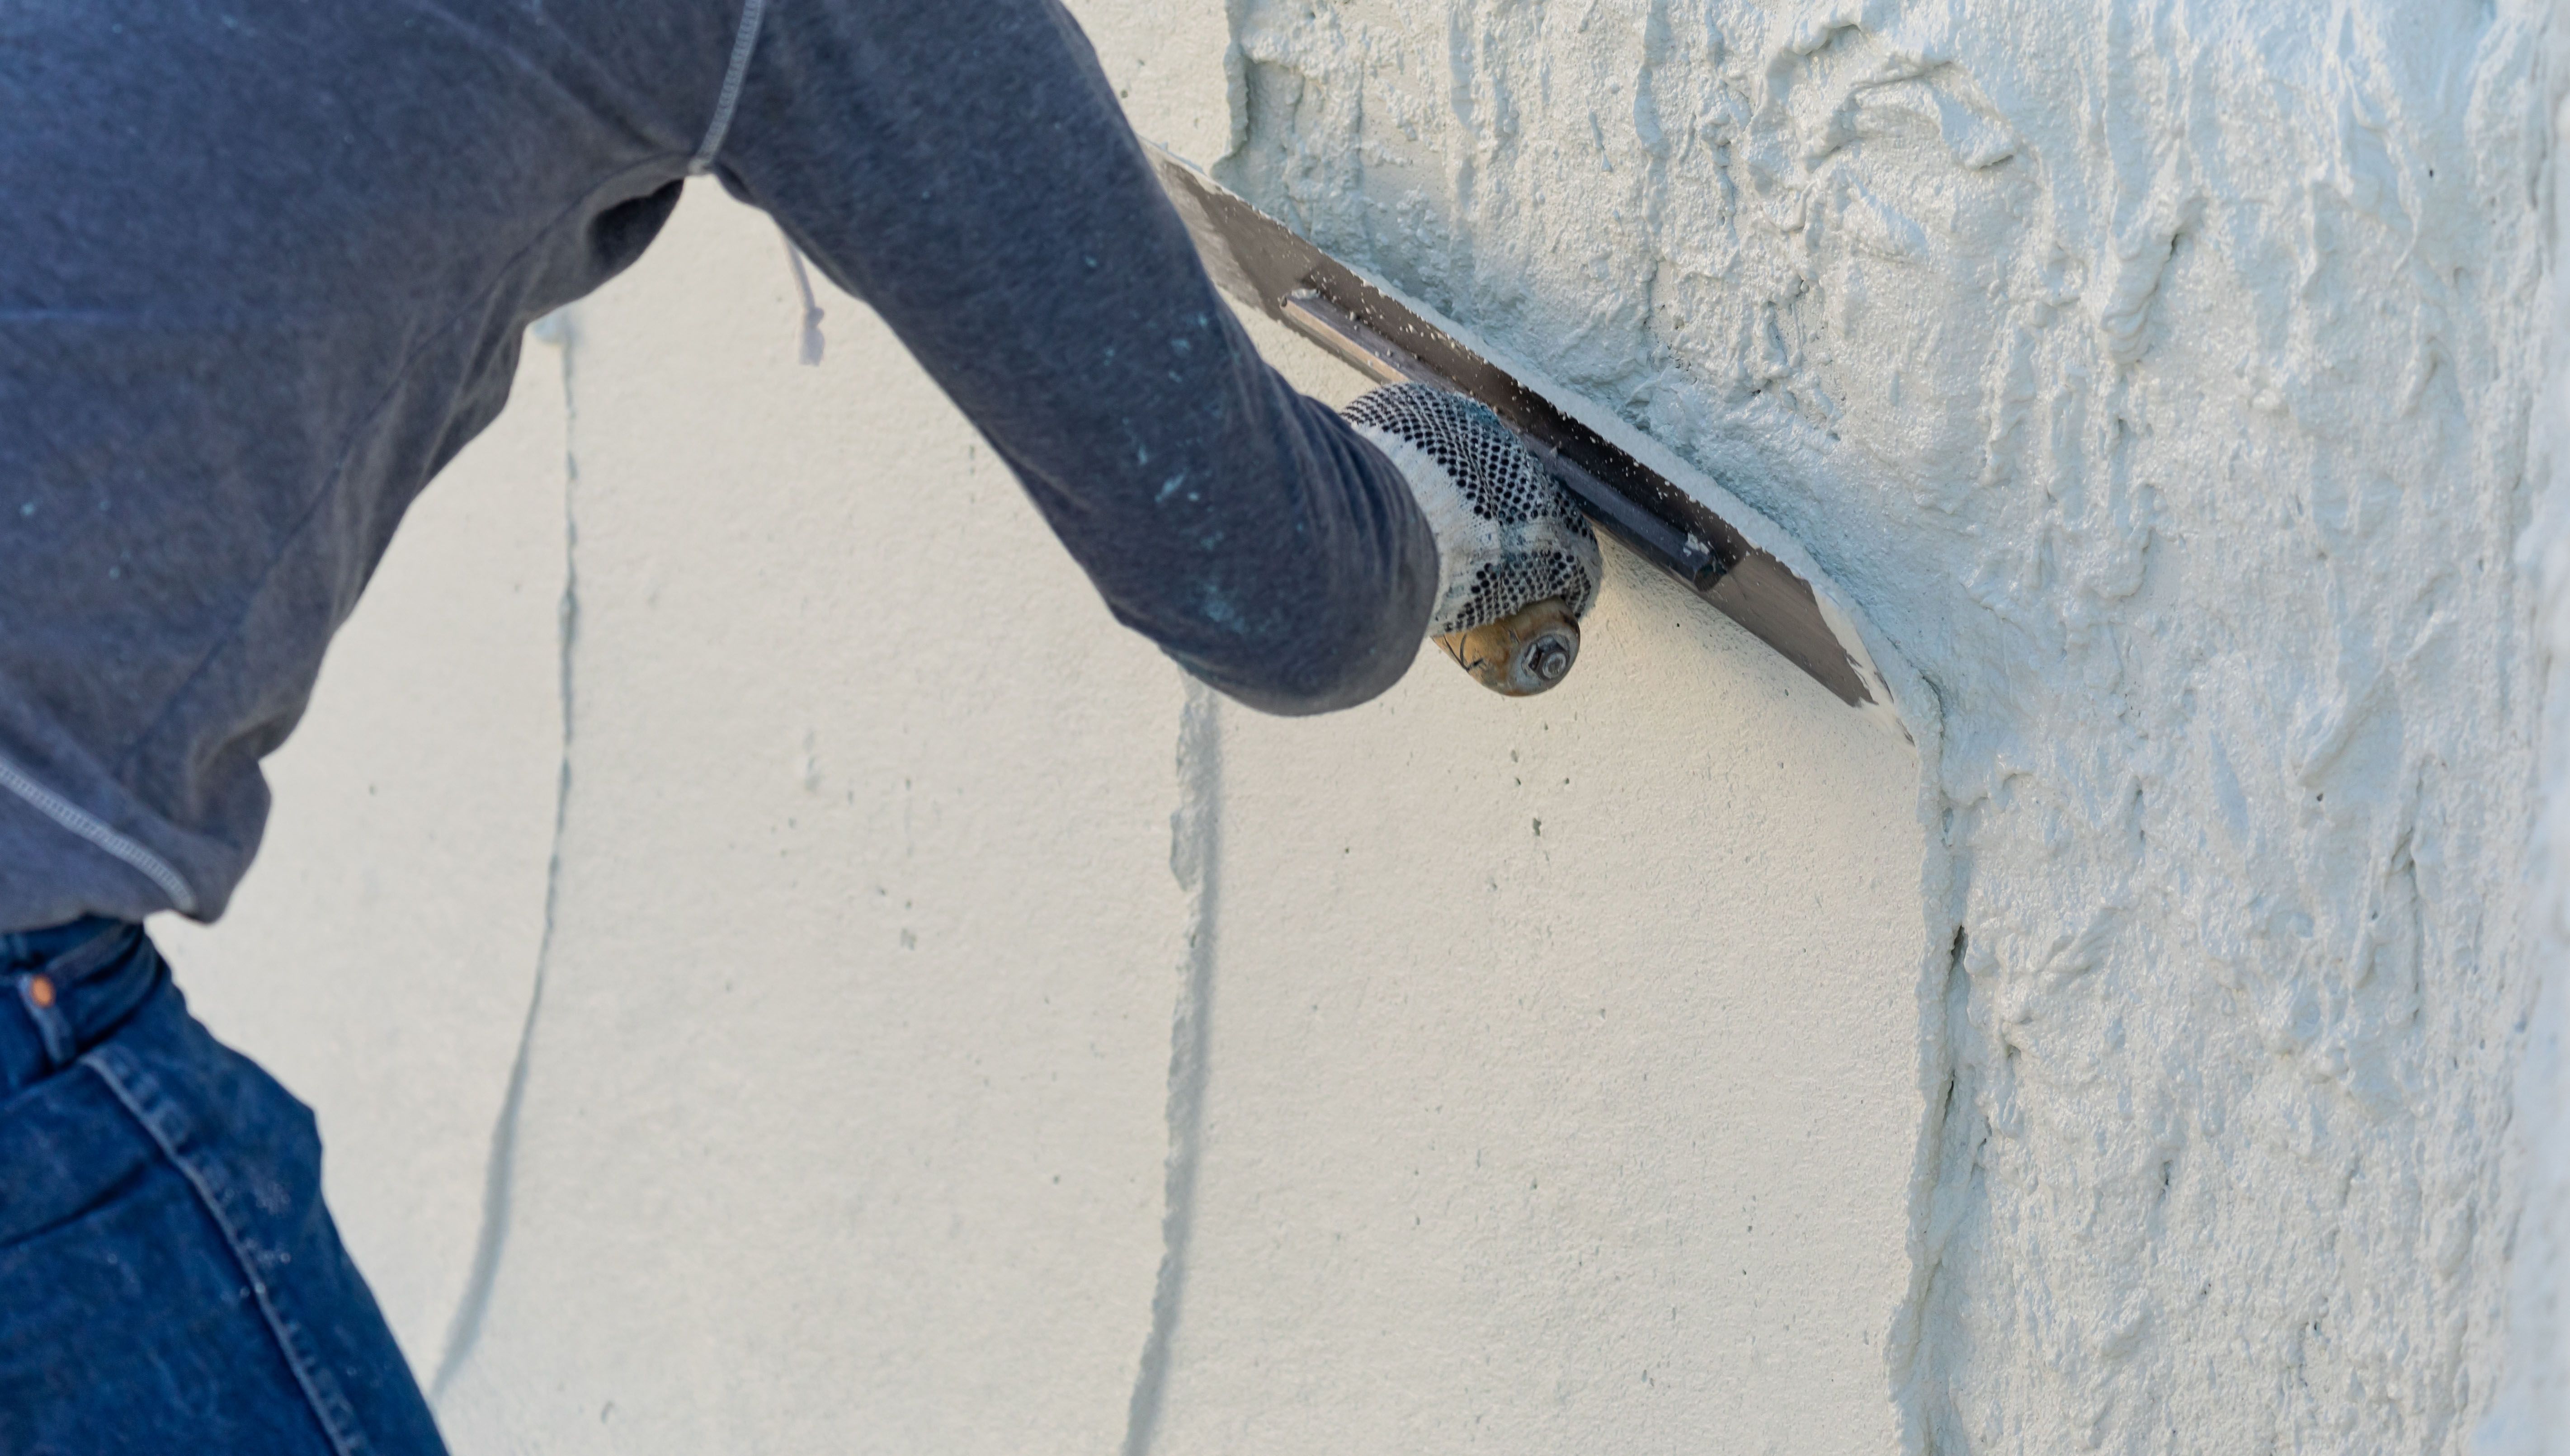
Use as several washers as required till the plaster no more moves. On ceilings, you may intend to anchor the entire ceiling with plaster washers, positioning them along the joists about 1 apart. Attach with 2 drywall screws. As soon as the washers remain in, prep the repair work location by coating the edges as well as lath with bonding agent.The Structo-Lite needs to not bulge, drip, or drop off the trowel. Use the plaster with an arcing activity, taking treatment to press material with the timber or metal lath (see listed below).
Permit the scratch coat to set for 24 to 48 hrs. Use the plaster with an arcing movement, taking treatment to push material via the wood or steel lath, Rob Leanna based on Kathy Bray Utilize the same plaster for the brownish coat and use it in similar way: Preparation the surface area by generously dampening it with water prior to you start.
What Does Plaster Repair Do?
To attain this, run a squeegee trowel over the entire spot once it's in location. Keep the brownish layer at the very least 18 listed below the level as it starts to establish. Permit to cure for 24 to 48 hrs before applying the coating coat. For the surface coat, use Durabond or veneer plaster: Once more, dampen the surface area with water.
The finish plaster ought to tense as it is leveled as well as smoothed in position. Add tiny bits of plaster to fill out hollows, after that smooth out the ridges. To produce a glossy finish, spray a great haze of water onto the surface as well as make a few last passes with the trowel.
Allow the leading layer to treat for at the very least 2 days (some veneer plasters will take longer). Examine for shrinkagespots where the new coat has shrunken away from the old one. Tape the cracks with fiberglass mesh as well as joint substance when it comes to any type of small plaster crack. It's an excellent idea to bring in a set of bright lights as well as inspect the wall surfaces closely for voids as well as high areas.
Plaster Repair for Beginners
Usage as lots my review here of washers as needed until the plaster no much longer relocates. On ceilings, you may wish to secure the whole ceiling with plaster washers, placing them along the joists about 1 apart. Attach with 2 drywall screws. When the washers are in, prep the fixing location by finishing the edges and lath with bonding representative.Mix to the uniformity of mashed potatoes, and just as long as you will require for the patch. The Structo-Lite needs to not bulge, drip, or diminish the trowel. Apply the plaster with an arcing activity, making sure to push product through the timber or metal lath (see listed below). Objective for a layer no thicker than the deepness of the existing scratch layer (regarding 18 to ").
The Main Principles Of Plaster Repair
Permit to cure for 24 to 48 hours before applying the surface coat. For more the surface layer, usage Durabond or veneer plaster: Once more, wet the surface area with water.
The finish plaster should stiffen as it is leveled and smoothed in position. Add little dabs of plaster to fill out hollows, after that ravel the ridges. To produce a slick surface, spray a fine mist of water onto the surface as well as make a few final passes with the trowel.
Allow the leading layer to treat for at least 48 hrs (some veneer plasters will certainly take longer). Tape the fractures with fiberglass mesh and joint substance as for any kind of next page minor plaster crack.
Report this wiki page